Subtitling Workflow - Task Manager
Introduction
The Task List System allows Tasks to be assigned to one or more users and distributed anywhere in the world.
- A Task contains all the media and/or subtitle files required to do a specific task.
- Any changes to the task files (edits, additions deletions etc.) are automatically synchronized to the central store.
There are two aspects to the Subtitling Workflow with a Task System:
- The creation of a Subtitling Task
- Working on the Subtitling Task
Creating a Task
For Full details see: Stellar Manage
On the New Tasks page select one of the Subtitling Task options.
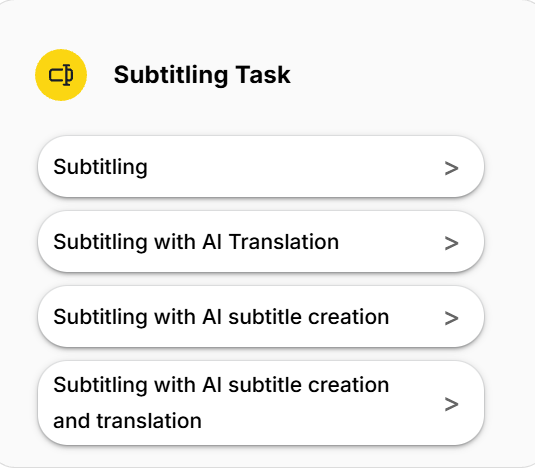
- Subtitling - create a new Task with the option to select an existing Subtitle file or create a new blank subtitle file.
- Subtitling with AI translation - create a new Task with the option to select an existing Subtitle file and translate it into a new language.
- Subtitling with AI subtitle creation - create a new Task and create a new Subtitle file using AI to convert the spoken dialog to subtitles.
- Subtitling with AI subtitle creation and translation - create a new Task and create a new Subtitle file using AI to convert the spoken dialog to subtitles and then translate this into a ew language.
Working on a Task
The users assigned to the Task will receive an email with information on how to start working on their task. The new task will appear on the Stellar Create dashboard.
Selecting a Task
- Either - Just click on the task in the dashboard.
- Or - Open the Tasks dialog vie the More Tasks link on the dashboard or vie the Taks menu.

This open the following window.
In the Active Tasks Tab, they will now see the new Task that was assigned to them. All the details of the task will have been received in the previous email.
Loading a Task
To load a Task, left click on the download icon  .
.
Subtitling Layout
When you first start Stellar you will get a default Layout loaded. The layout sets how the screen looks and what controls and tools you have available. Because Stellar can be used for a wide range of work it’s important that you load a suitable layout and a number of default Layouts have been provided.
Files → Layouts → Load
This will open the Layouts Window.
Click on the Layouts Library Dropdown list.

Select System Layouts
Select Subtitling - this will open the Subtitling Layout list
Decide on a Layout depending on your needs.
Press the Load Button  corresponding to the the layout you want to use.
You can swap between layouts at any time and you can create your own Layouts and save them for future use.
Creating a new Subtitle File
In most cases the task will already contain either a subtitle file or a blank subtitle file. However, you can also create a new subtitle file in the Task.
Files ->Text Files → New
The File Browse window will open to show all the text files in the current task . The new file name will default to the one of the Media that was previously uploaded into the Task but you can change this.
In the New Filename entry you will be able to change the name of the text file. DO NOT remove or alter the .srtd or other format ending in the filename.
In the File Format field, select the type of subtitle file you want to create.
In the Style Profile select the style profile to be applied to this file. To set this profile, click on the File Icon. Read more about Profiles and how to use them here.
- Then press in the area on the upper left side of the window to open the drop-down list.
- Select System Profiles
- Select Subtitling Folder → And then select one of the system style profiles → Press OK
When you made all the required modifications, you can press on Create the create a New Subtitle file.
To insert the new file into the Task, press Save.
You should now see the new Subtitle File present in the Timed Text Editor on the right.
Editing a Subtitle
After creating a new Subtitle File, one title with the incue set at first frame of the existing media will be inserted into the project.
Moving
Moving on the timeline
Left click and drag while on the timeline
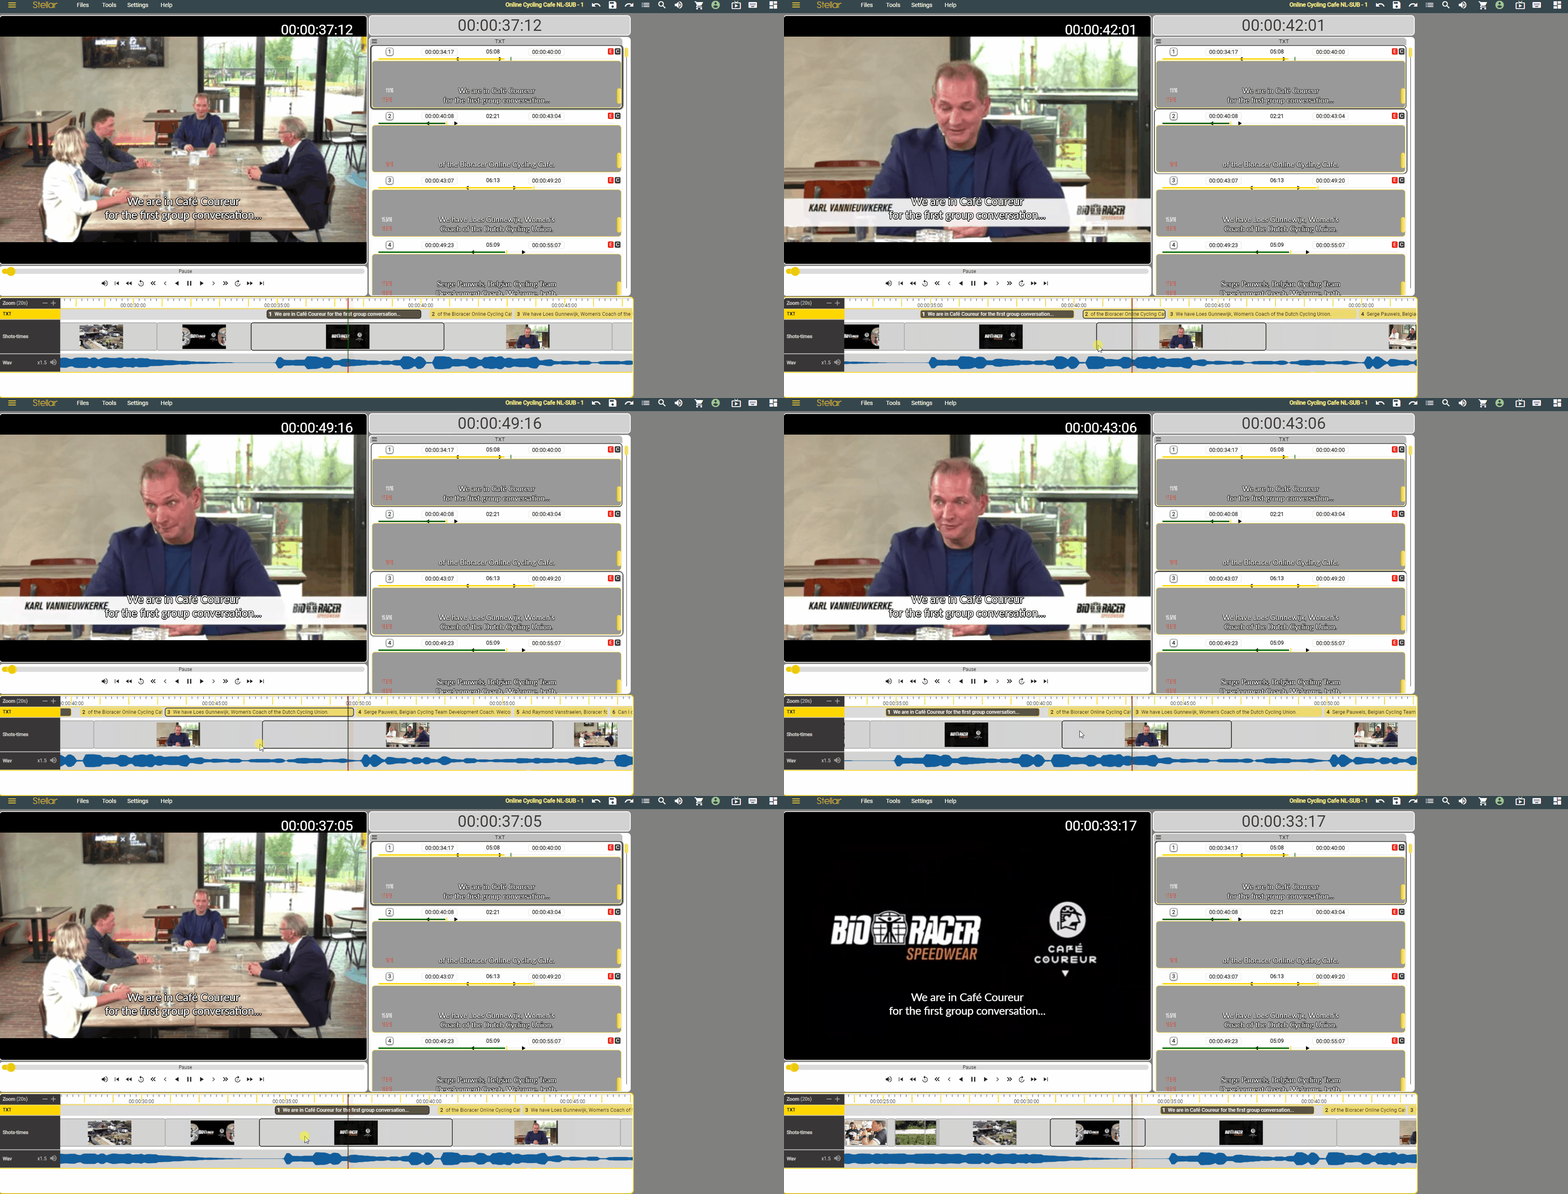
Move Frame by Frame -
Scroll wheel Up/Down
If available Scroll Wheel Tilt Left/Right - more precision in movement.
Insert
To insert a new Title
Drag the timeline to the exact point where you want the new title to start, the press Ctrl+ Enter.

Drag the timeline to the exact point where you want the new title to start, Right Click on the timeline → Insert.
Delete
To delete a Title - select the title that you want to delete (drag the cue on top of the title in the timeline), then press Ctrl+Shift+Delete → Yes
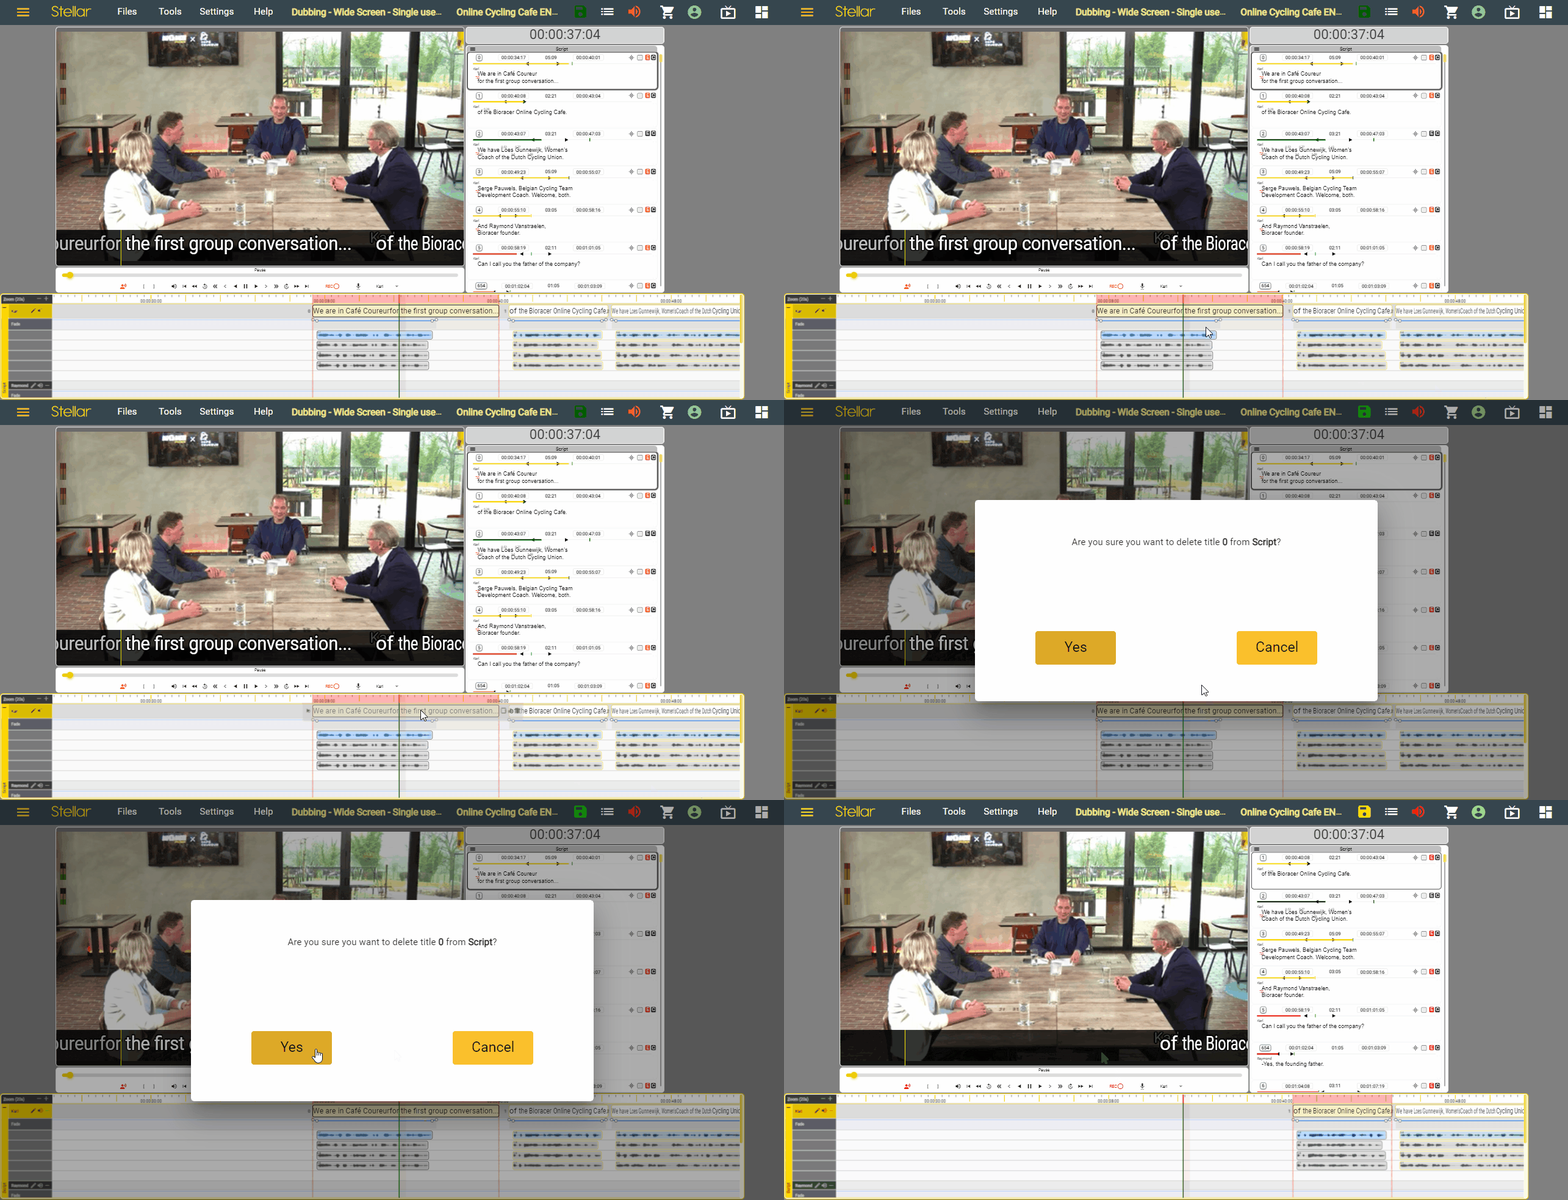
You can also delete any Title by pressing the Trash Can Icon on each Title
Trashcan → Ok
Hold Shift then Click on the Trashcan → Skip the Delete Confirmation Prompt
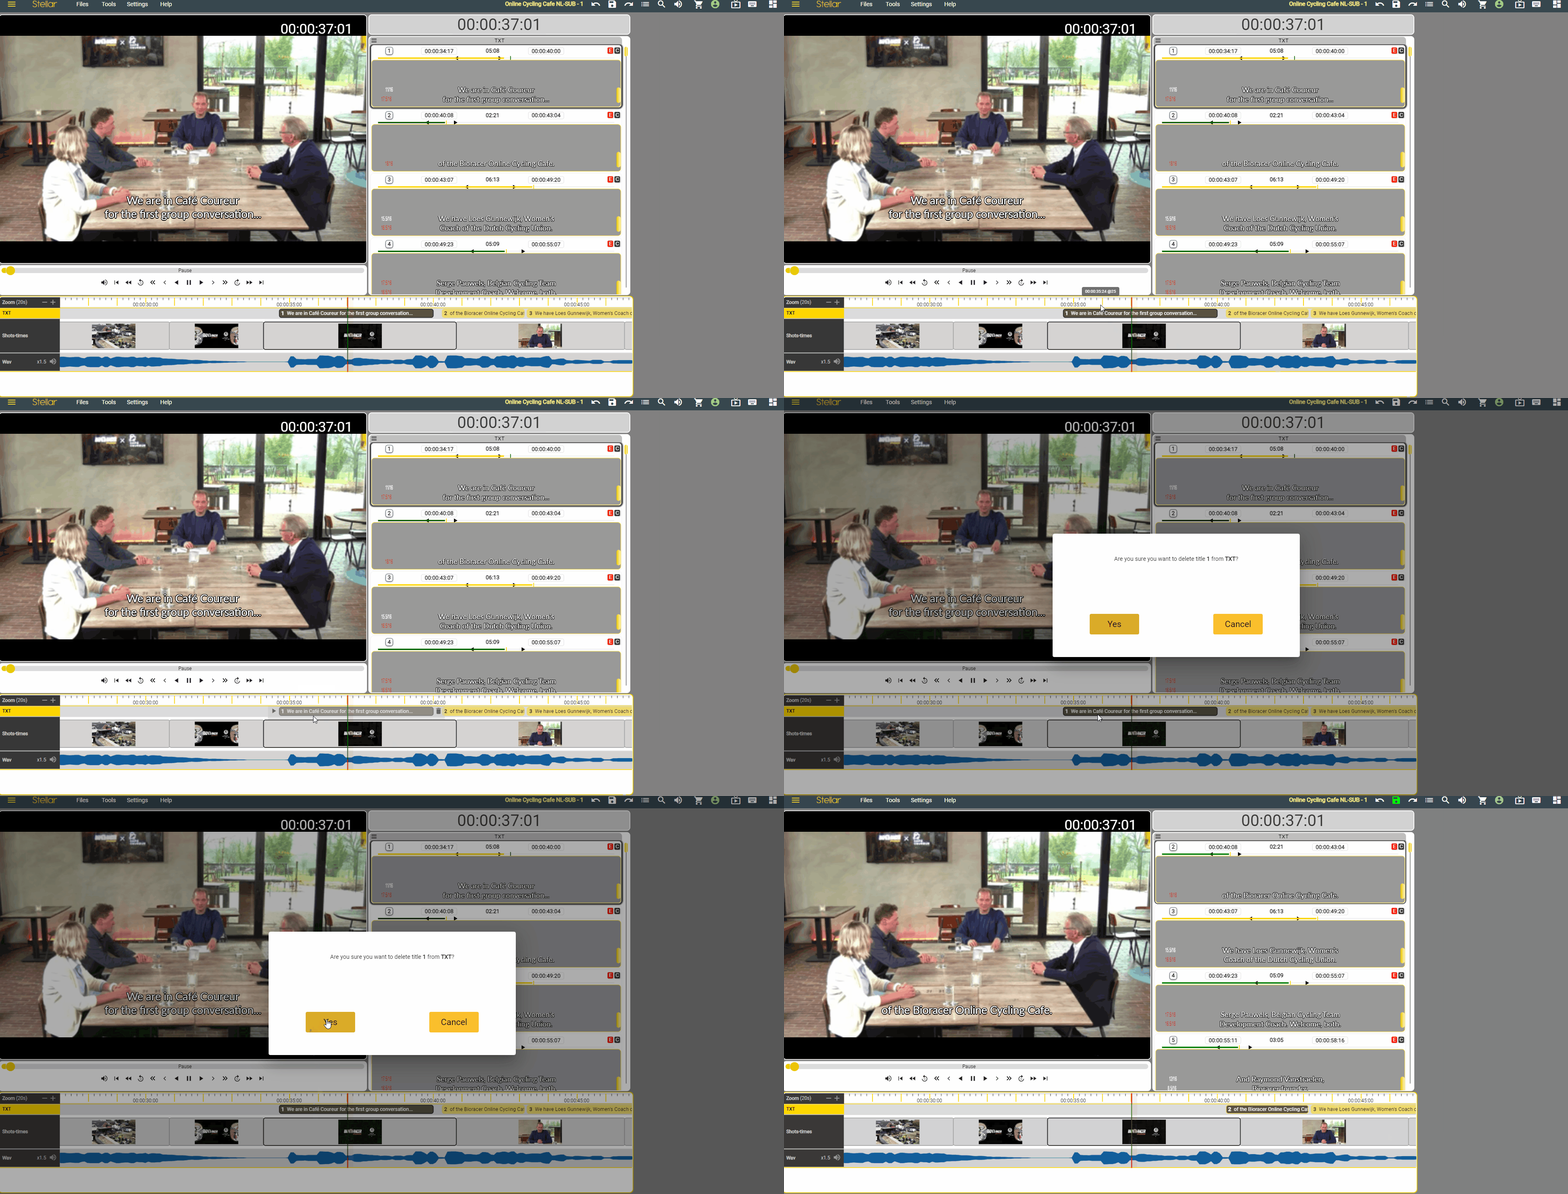
Right click on the Title in the Timeline → ** Delete** → Current Title - > Skip the Delete Confirmation Prompt
Reposition
Reposition / move one title on the timeline - Hover the Title, hold SHIFT and then LEFT CLICK DRAG the title.

Reposition / Recut All Titles - Hover the Title, hold CTRL + SHIFT and then LEFT CLICK DRAG the title.

Reposition / Recut titles from this point on - Hover the Title, hold ALT + SHIFT and then LEFT CLICK DRAG the title.

Reposition / Recut titles from this point on setting incue to current Time Cue - SHIFT + Double Click

Recut/ Reposition sub from this point on ALL files. - SHIFT + CTRL + Double Click

Adjust Incue/Outcue
Adjust Outcue - Hover the RIGHT end of the Title, hold ALT + SHIFT and then LEFT CLICK DRAG

Adjust Incue - Hover the LEFT end of the Title, hold ALT + SHIFT and then LEFT CLICK DRAG

Set Incue to current Time Cue - this will snap the Incue to the position of the Video Cue - Select the Title, move the Video Cue to the time where you want to set the Incue → Press Alt + Plus (near backspace)

Set Outcue to current Time Cue - this will snap the Incue to the position of the Video Cue - Select the Title, move the Video Cue to the time where you want to set the Incue → Press Alt + Minus (near backspace).
Export Text File
You can Export a text file from the current Project with or without a format conversion.
Text files include subtitle, caption, AD and Dubbing Scripts and other timed text file formats.
You can Export a file to any location visible on your PC or Mac.
You can select to Export all the contents of the file, then timing information without the text or just the text without the times stamps.
Files → Export → Text File
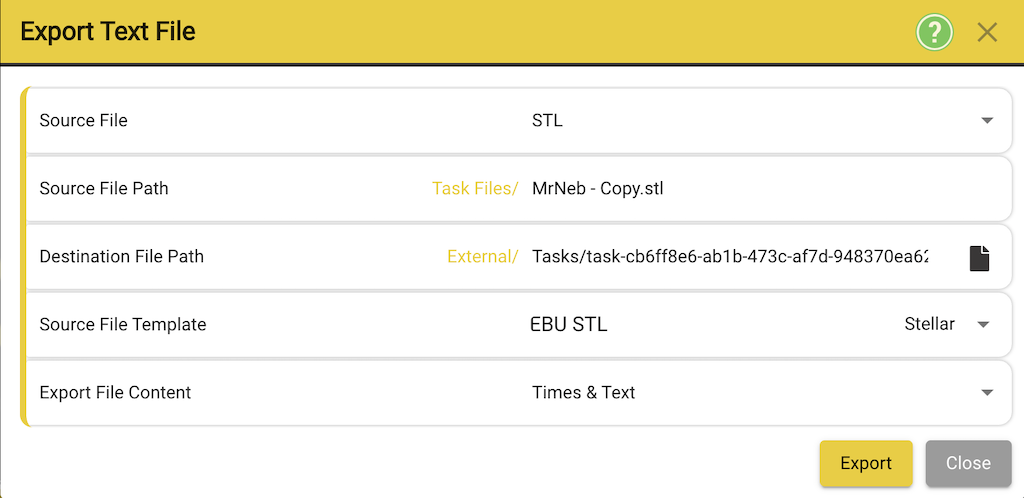
-
Source File – Select from one of the Text Files currently in the Project. Defaults to the currently selected column
-
Source File Path – Displays the path and filename of the file being exported. – This field is read only.
-
Destination file name – use the Browse button to set a file name, location and file type for the new file.
-
The file name will default to be the same as the source file with ‘-copy’ appended
-
The file type will default to be the same as the source file
- If you want to convert the file to a different type you can select between any of the supported file types.
- Note: Not all file types support all styles and content types.
- Caption files don’t support italics.
- Many file types don’t support comments
- It is possible data will be lost in the conversion process.
- Note: Not all file types support all styles and content types.
- If you want to convert the file to a different type you can select between any of the supported file types.
-
Export Mode:
-
Times and Text – the new file contains all the text and timing information from the source file.
-
Times Only – The new file only contains blank subtitles. This is useful for creating a blank template when translating between languages
-
Text only – the new file contains text subtitles but no times. – this is useful if a file needs to be retimed.
-
The new file will be stored in the selected location.
Task Synchronization
Since we are not working with local projects, but with tasks, all the progress will be automatically saved in the cloud several seconds after a modification has been done to the task files.
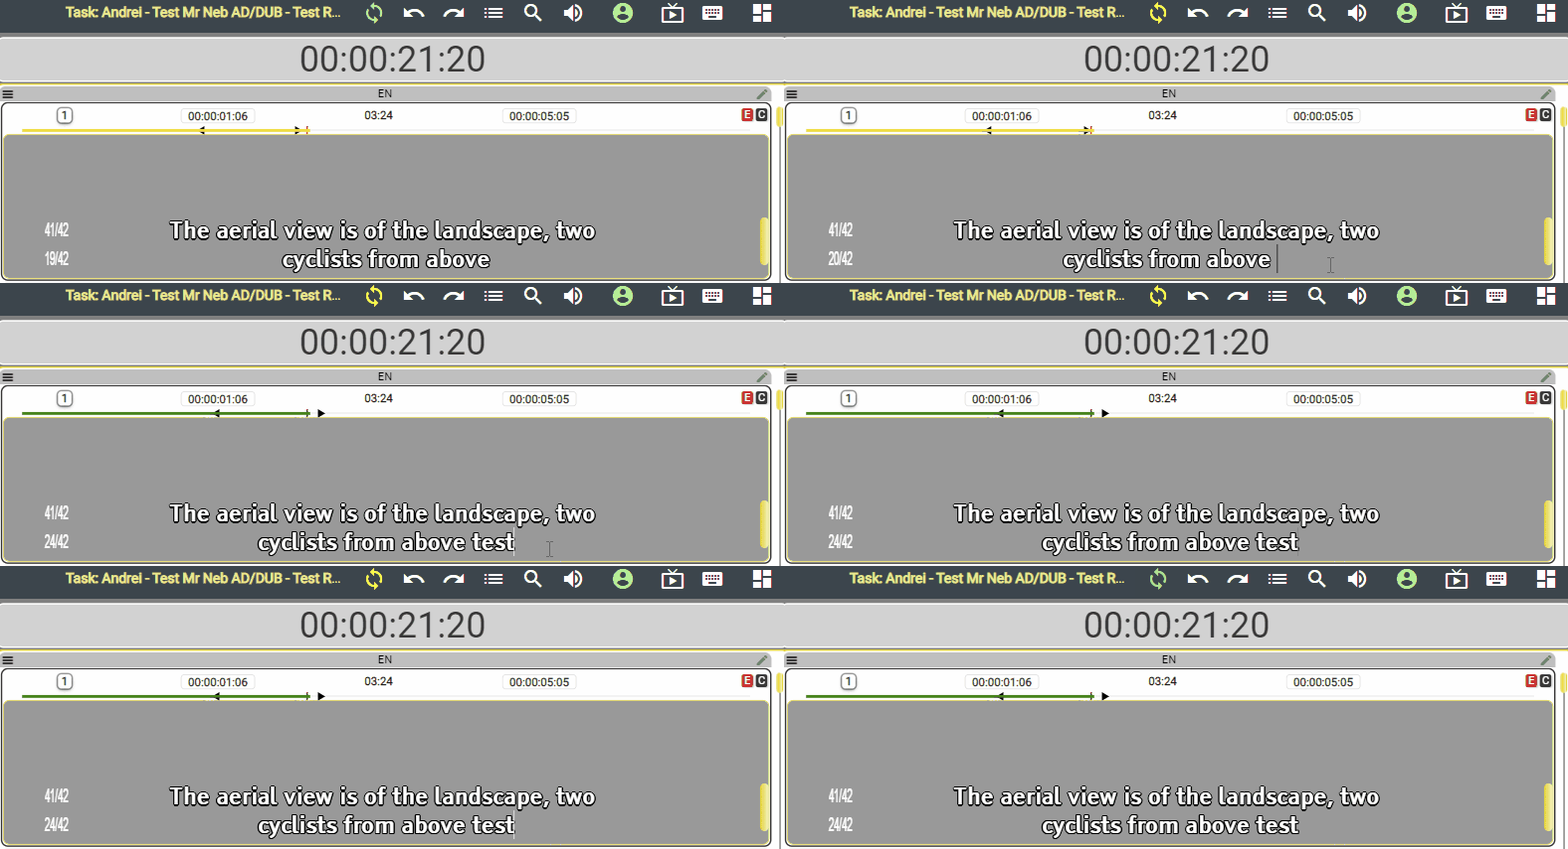
The Task Name will flash bright Yellow when the synchronization was successful and the sync icon will turn green.