Translation Widget
The Translation widget supports two separate tools.
- A Quick Translation Widget for use then working on multiple language files.
- A Full File translate for making a draft new language translation suitable for checking and using as a subtitle file or script.
Quick Translation
The Translation Widget provides a quick and simple interface to translate subtitles at the current timecode into a target language.
While the translation may not be suitable for use as the final output it is ideal for QC checking multiple language subtitle files.
One click will translate all the subtitles at the current media time, in multiple languages, to provide a quick confidence check that all the files match.
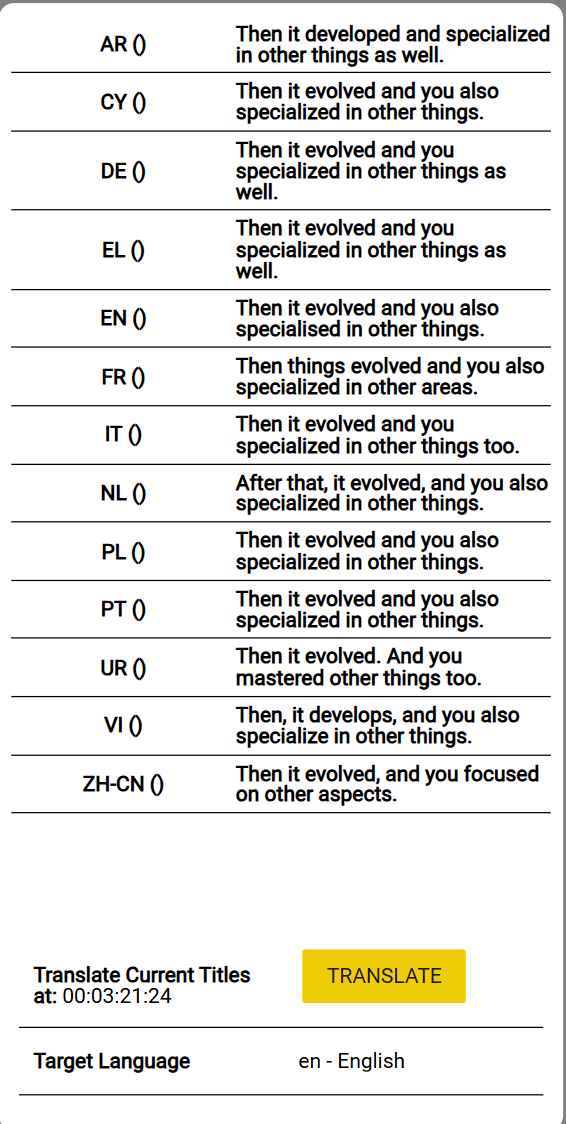
Controls:
Target Language
- Set the language to translate into.
Translate subtitles at or after current time.
- Click on the ‘Translate ‘ button to translate all the different subtitle tracks into the target language
- Used for QC and confidence checking.
Hotkeys:
There are no hotkeys specific to the Translation Widget.
Mouse Actions:
There are no mouse action specific to the Translation Widget.
Right Click in widget area – Open widget specific Settings dialogue
Alt+ Right click in widget area – Open widget specific Settings dialogue
Full File Translation
Tools → AI Tools → Translate Text File
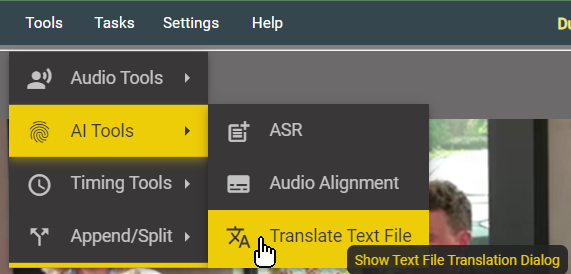
Context Menu from the file you want to translate.
Or
Click on the translate button  on the toolbar - if present.
This will display the Translate File dialog.
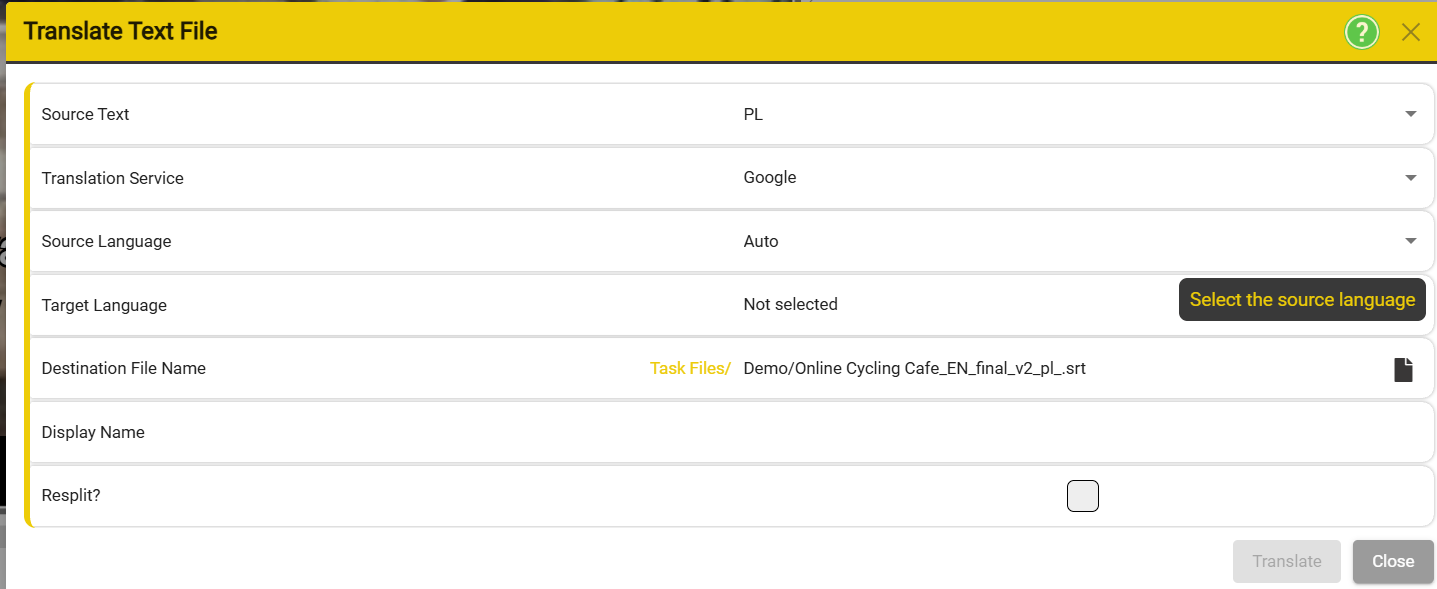
- Source Text – selects the source text for the translation. Defaults to the current text column.
- Translation Service – Select from the available translation services.
- Source language – Set the language of the original text.
- Some Translation Services support Auto Detect for the source language.
- Target language – Select the language to translate into.
- The list will be set by the language options provided by the selected Translation Service.
- If you don’t see the target language you need, try a different Translation Service.
- Destination File Name – set the location and file name for the new file.
- The file must be in the Task folder for the current Task
- Select the file format for the translated file
-
- This will default to the same format as the input file.
- The File Name will default to the source file name and location with a two letter language code (_en) appended.
- The File Profile will default to the same as the source file but you can change this
- Display Name – Sets the name for the Column and Timeline Track if the new file is added to the current Stellar Task.
- **Resplit? **- If set the translated file will be recreated with the text and timing rules in the selected Style Profile.
-
- If not set each subtitle will be translated independently and will keep the same subtitle timing (in and out cues)
- Use this feature if the output language is likely to be longer than the source language. E.g. English to German.
Once you are happy with the settings that you selected, you can press Translate.
Translate – the source file will be translated to create the Destination File and it will be added to the current Task.
- Depending on the length of the file and the translation service selected, this may take a few minutes.
- The new file will be shown as the last column in the Task.
-
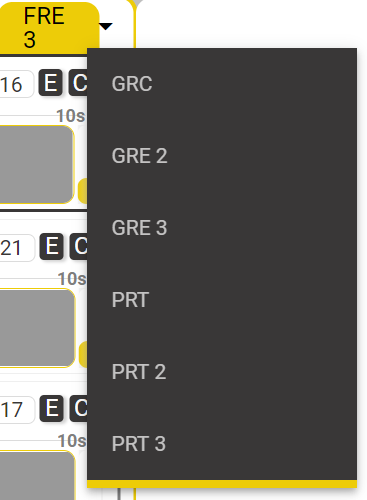
note
This may result in the new file being on the drop down list in the last column tab. :::
Settings
Default Translation Service
- Select from the available translation services and then click Save.
- By default only Google Translate is available.
Default Target Language
- Select from the available languages – Default = English.
- All future translations will be into this language.
Mouse Actions:
- Right Click in widget area – Open widget specific context menu.
- Alt+ Right click in widget area – Open widget specific Settings dialogue.