Setting up your Workspace (Layouts)
Setting up your Workspace (Layouts)
The workspace consists of several widgets which you can combine in order to fit your particular needs. This is called a Layout. The layout system allows you to load pre-existing layouts such as subtitling or audio description and any many others. It also allows you to save copies of those pre-made layouts, and then modify them to your requirements.
For more information on Widgets see Layouts and Working With Widgets.
Loading Layout
Start by loading a standard layout - Go to Settings → Layouts → Load
Or
Click on the Layout icon in the top bar  to show the layout options:
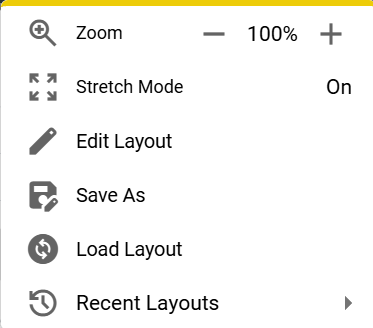
Often the layout will be loaded for you as part of a Task.
The Layouts Load function allows you to access three main locations:
Layout Path
| Layout Library | - | Header 3 |
|---|---|---|
| My Layouts | - | Layouts that you have created and saved yourself. |
| System Layouts | - | Preset layouts provided by Stellar. Start with these. |
| Company Layouts | - | Preset layouts provided by your company. |
In order to navigate between these Layout Library → click on the down arrow to expand the drop-down menu which will allow you to pick another layout library.
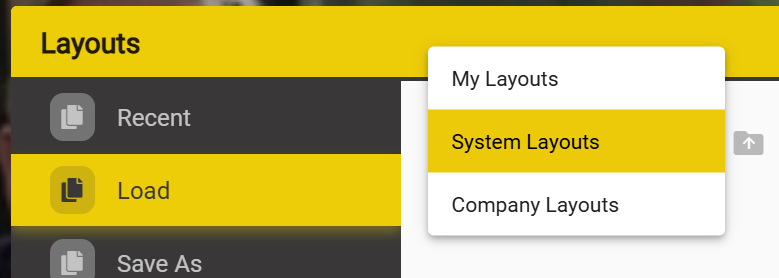
To load a Layout → click the Load Layout button.
To find more details about the Layout → click on the + or the Layout Title.
Alternatively, a recent list of your past used layouts can be also be accessed from the Layouts menu. Files → Layouts → Recent
Or
In the Recent section at the bottom of the Layouts Icon menu.
Or
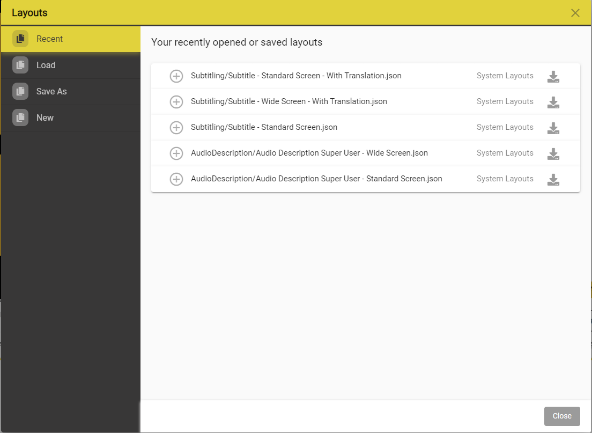
Click on the download button to load the selected layout.
- You can change layouts at any time without affecting the task loaded.
System Layout
Stellar Create comes with a range of predefined System Layouts that can be loaded by any user.
Currently there are four main workflows which have a number of pre-set layouts: Audio Description, Subtitling, Dubbing, Tutorials and Other.
Experiment with these to get an idea of the options available.
Editing Layout
Simple customization
Stellar provides a range of options for adjusting and resizing layouts.
Click on the Layout icon in the top bar  to show the layout options:

Click on the Layout icon at the right-hand end of the top bar.
There are two ways in which you can resize the entire workspace without editing the layout:
- Using the “+” and “-” buttons to increase or decrease the size.
It's a good idea to make sure that the Chrome zoom level is set to 100% before making other adjustments.
- Using the preset options Fit/Stretch:
- Fit - will fit the content to your screen size
- Stretch Mode - will stretch the workspace until one widget fills the full width of you screen
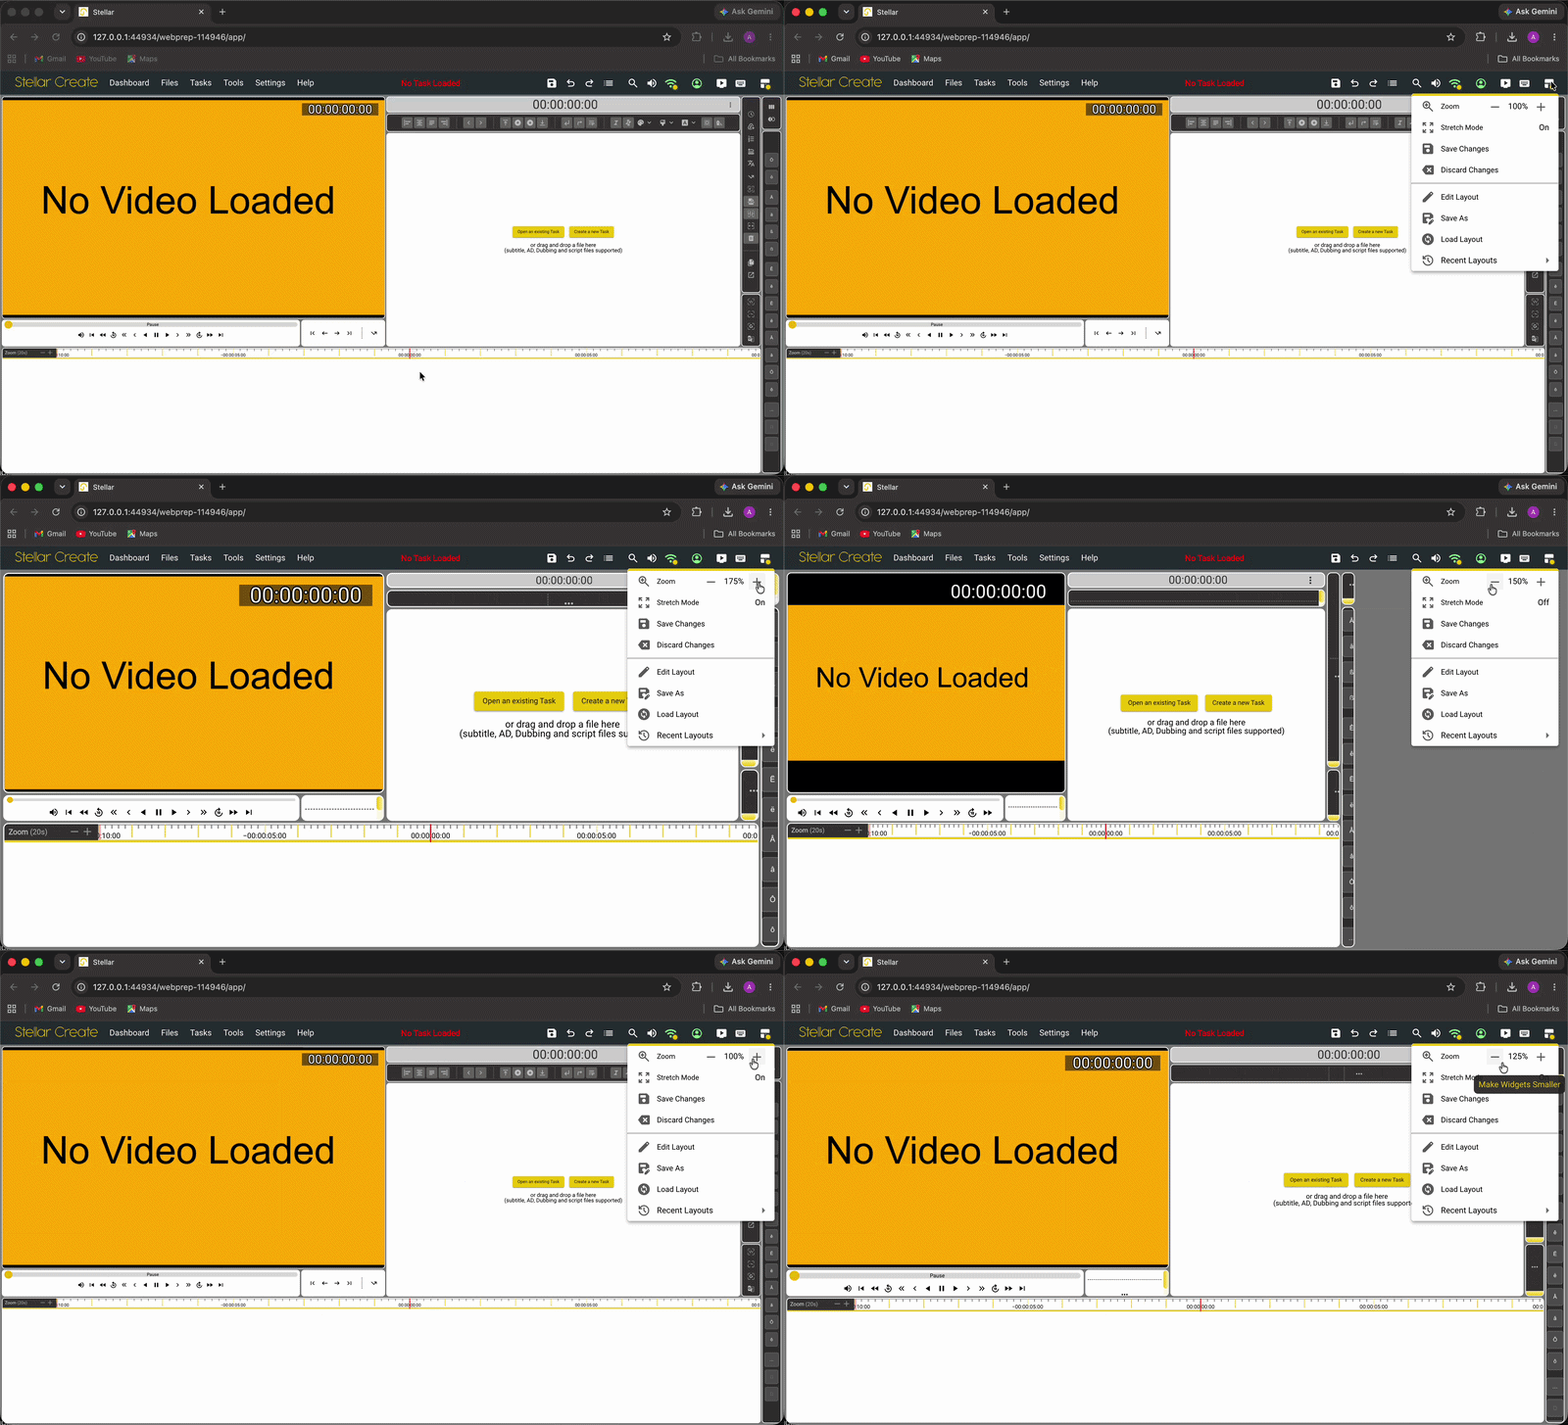
There are four main ways in which layouts can be customized:
- Widgets can be removed or added.
- Widgets can be repositioned or resized.
- The whole Workspace can be resized and the widgets will resized automatically based on the Workspace size.
- The configuration settings for widgets can be adjusted.
The first step is to load the Layout that you want to edit or to base a new layout on.
Note: You can't edit system layouts but you can use them as the basis for a new version.
Next click on Edit Layout.
- You are now in the edit Layout mode.
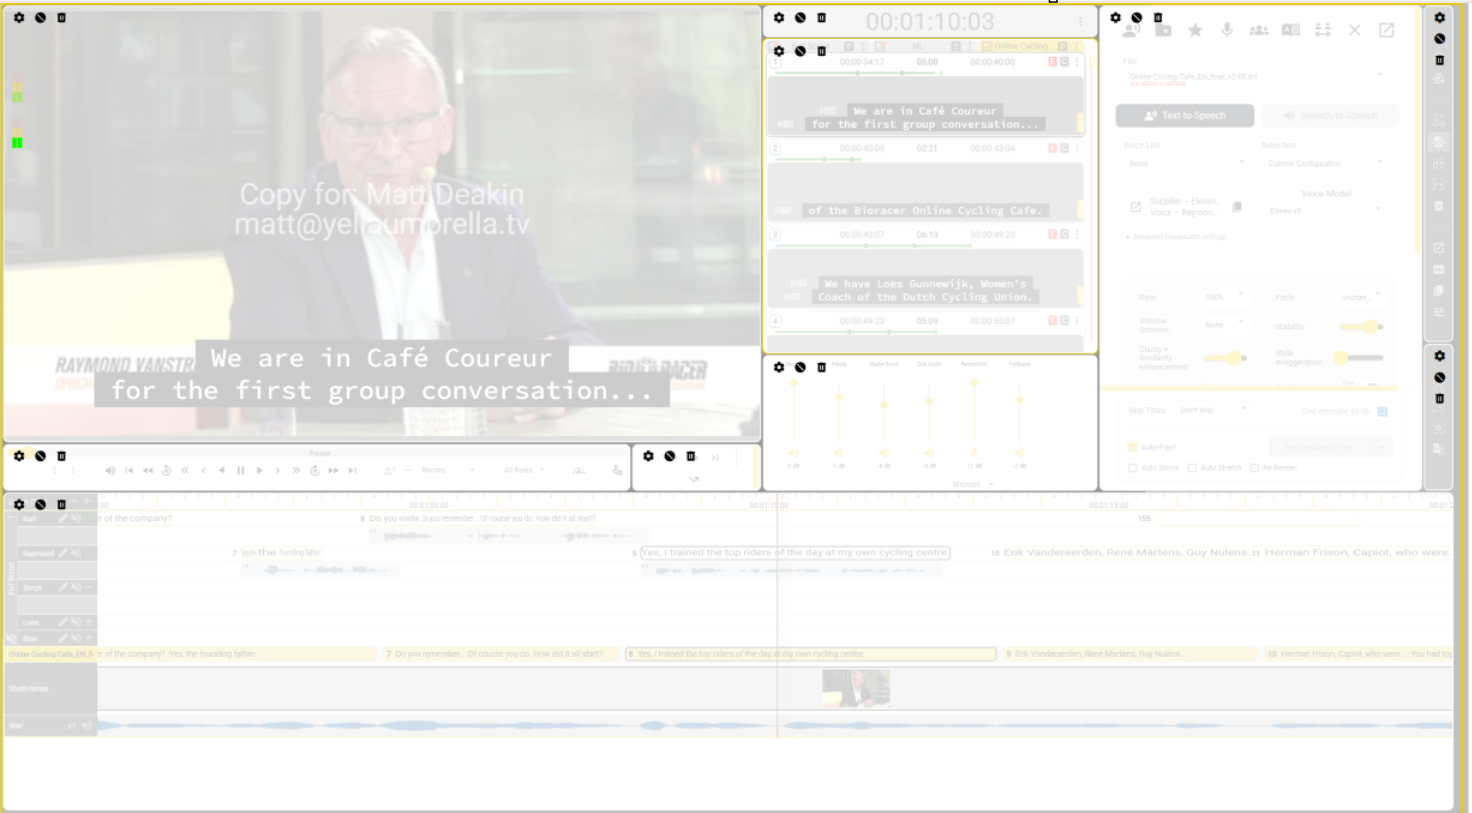
Widgets are delimited by their darker border. In this above image we have 9 widgets that we can work with.
You also now have some edit layout controls.

Add new widget - opens the widget dialog where you can add new widgets or additional copies of existing widgets. Zoom Control - fit all the existing widgets into the area of your screen size. This will give you correctly sized widgets with the correct zoom levels for your current screen size.
X button - exit without saving the layout edits
✓ button - to exit and save the layout edits.
-
This only saves the changes, it doesn't Save the new layout.
-
Use the Save or Save As to make the changes permanent.
2022-10-14 12-40-45 - entering - exiting layout mode.mkv
Google Drive file.
- After entering the layout edit mode, the UI of the existing widgets will be disabled. In order to regain the UI functionality, you will have to get exit layout editing mode.
If by any chance you mistakenly remove a widget or you feel like you want to start editing the layout again, you can just press the X button in the top right corner to discard any unsaved changes up to that point.
2022-10-14 12-57-19 Discard Changes.mkv
Google Drive file.
- Moving the widgets
Once in Layout Edit mode, you can move widgets by clicking and dragging the widget inside the area market with a yellow border.
2022-10-14 15-30-25 - moving widgets.mkv
Google Drive file.
- Hiding a widget - this action will only hide the widget and not remove it from the Layout.
2022-10-14 15-47-21 hiding.mkv
Google Drive file.
- Deleting a widget - this action will remove the widget both from the Workspace and from the Layout.
2022-10-14 15-47-38 - removing.mkv
Google Drive file.
Adding Widgets

To add a new widget to the layout:
Enter edit layout mode.
- Click on the "Add New Widget" button on the top bar.
- Select the widget from the widget list that you want to add.
- Click on the yellow plus button to add a new widget.
In some cases you can add additional copies of a widget. For example, timecode displays.
Not all widget types have a physical presence in the layout, some just add new menu items.
- Make any changes to the widget settings.
- Click the save button.
The new widget will appear, usually in the bottom left-hand corner of the layout edit screen.
You can now adjust the position and size of this widget and the other widgets to get the layout you want.
Click on the green tick button to save the changes.
Remember: you need to Save or Save as to make this a permanent change.
Saving Layout
To save a copy - Click on Layouts icon  at right corner and click Save As button.
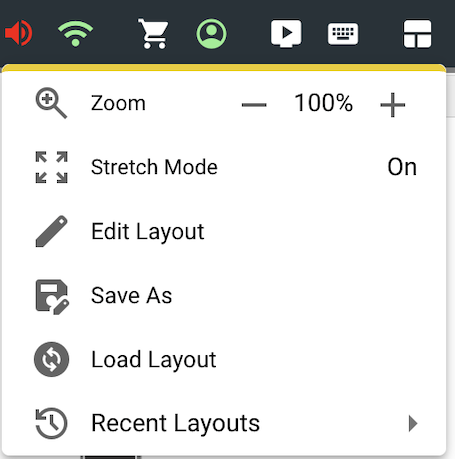
This will open the Save Current Layout window.
The layout path has been changed to My Layouts/ - and this is because - the layout we are currently copying is a system layout that is read-only. This situation happens only when the layouts we are attempting to copy/modify doesn't belong to us and are read only. We can save a copy of any existing layout in the My Layouts/ path.
To save your Layout copy - press the Save button.
To change the path in which you want to save your layout, press the file browse button.
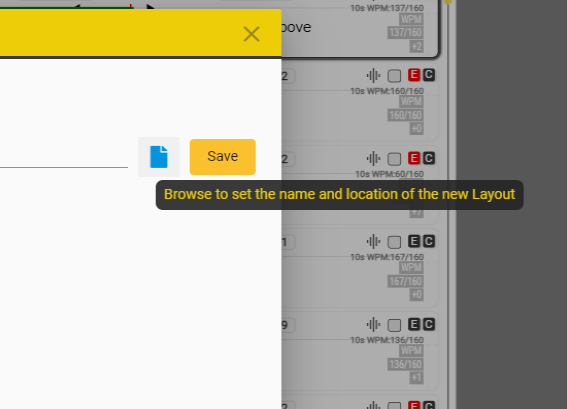
This will open the file browser which will allow you to select your new path. Click on MyLayouts → Click on Company Layouts → Press OK
After pressing OK - you will return to the previous window and you will notice that the path has chanced from My Layouts/ to Company Layouts/
Press Save to save the Layout in the Company Layouts/ path.
Layout Templates
A Layout Template is a Layout that is protected from being updated or overwritten.
To see all of a Layouts details expand the details section in the Layouts Load dialog.
For each Layout there are two Template Flags:

- System Template
- The System Template flag is set for Layouts that are supplied either by Yella Umbrella or by your company.
- These are fixed and can’t be changed or overwritten.
- If you load a System Template you can always Save As a different layout name and the use it as the basis for a new custom Layout.
- You can’t change the System Template flag.
- User Template
- You can set the User Template flag on any of your Layouts.
- This will stop you overwriting them by accident
- If you want to update a user Template just turn off the flag, save the changes and then turn the flag back on to protect your Layout.
Deleting a Layout
Click on the Layouts item on the top menu bar to open the Layouts dialogue and select Open.
You can browse to sub directories if present to see more Layouts and move back up to the parent directory by clicking on the Path Icon.
Find the Layout you want and click on the Delete (Bin) button on that row.
- A confirmation message box will pop up to confirm the deletion, click Yes or Cancel.
Assigning a Layout to a Task
You can assign a specific stored Layout to a Task so every time you open that Task you always get the correct Layout.
This will often be done for you by the project manager or via system automation.
Load the task and then edit the task details.
You can now change the task layout field to select the layout you require for this Task.
In more complicated Workflows it's possible to have different layouts for different steps in a workflow.
- For example you might have a QC layout only for the QC step in a workflow.