Video Display Widget
Video Display Widget
The Video Widget is the display container for all video (and audio) media. In normal operation you would only configure a single Video Widget in your layout. The video will be automatically scaled to fit inside whatever size you chose for your video display but the aspect ratio of the video will always be maintained so you may get black boarders in some cases. You can always resize the widget to match the current video’s aspect ratio.
You must also have a Media Control Widget in the current Layout to be able to control video playback.
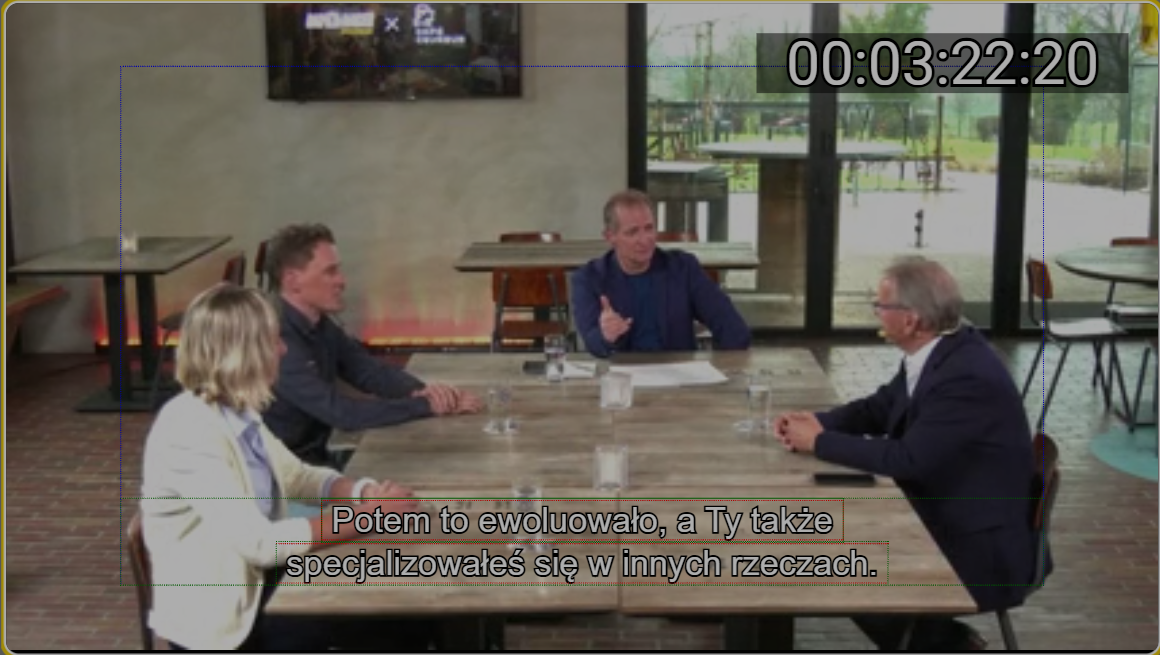
Controls
There are only a few direct controls on the Video area itself.
Play/Pause - If enabled (see Widget Settings below) clicking the mouse with the pointer inside the video area will play or pause the video.
Full Screen Mode
Zooms just the video area to fill the screen (within the browser frame).
Click on the icon  to toggle between zoom and normal mode. You can also toggle between the two modes by using F10.
To get a the video to cover the entire screen, you will have to zoom the browser to full screen using F11.
Settings
**To open the video widget settings right-click in the video area and select Settings. **
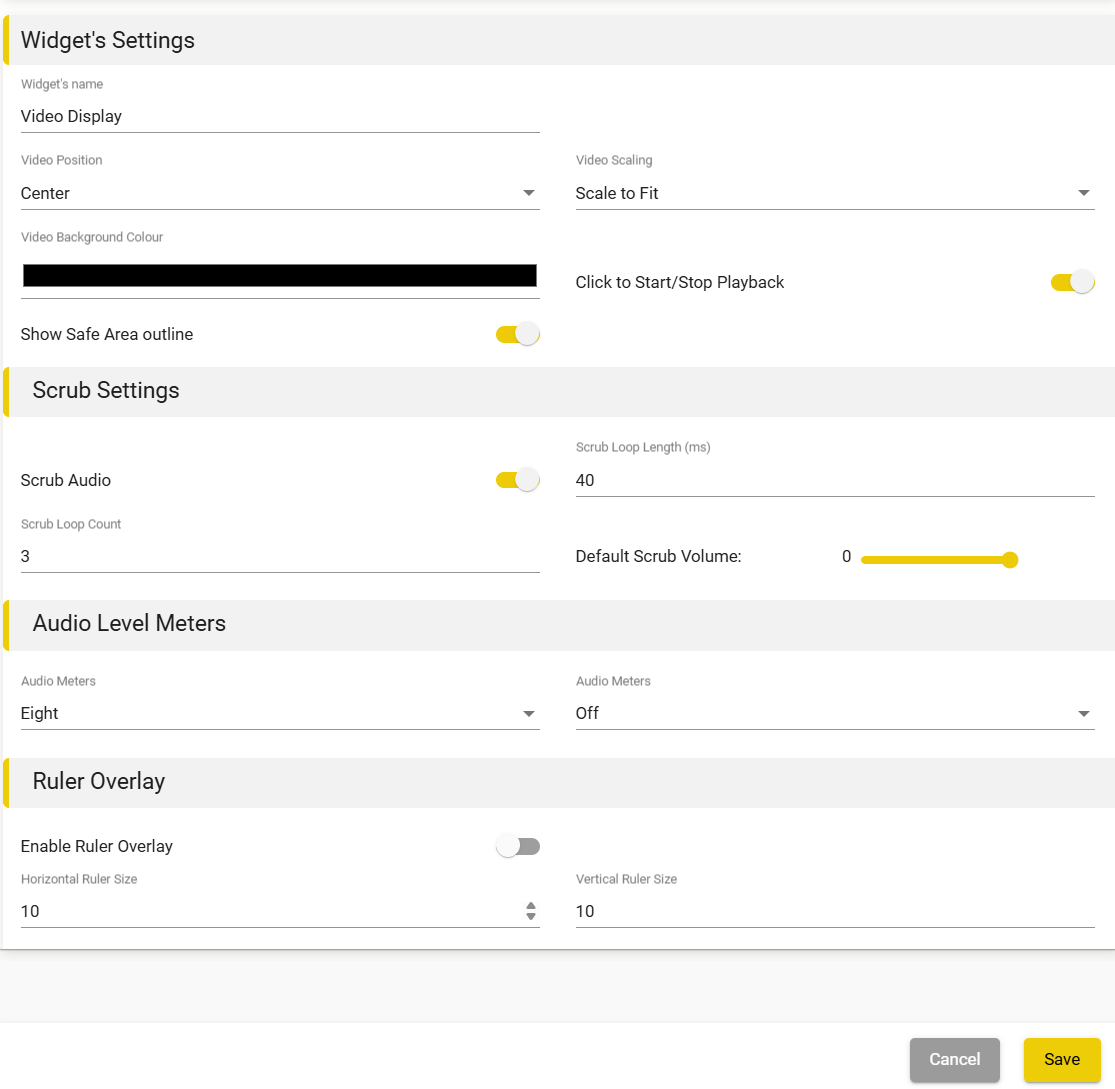
Widget Settings
- Video Position – set the bias location for the position of the video inside the Video Widget window.
- Because the video widget can be any size or aspect ratio the video will be positioned inside this window depending on this setting and the Video scaling setting.
- The actual video image will always maintain the correct aspect ratio.
- Video Scalling – Sets how the video image is scaled inside the Video Widget window.
- Scale to fit – will maximise the size of the video inside the widget window while maintaining the correct aspect ratio.
- Scale with overlays – will scale the video to allow space on all four sides for overlays, while maintaining the correct aspect ratio.
- See the Script Overlay Widget for more details on overlays.
- Video background colour – sets the colour of the area not covered by the video image
- Set to any colour except black to make the video image size clearer.
- This is especially useful if the video image itself has black sections (e.g. letterboxed).
- Set to any colour except black to make the video image size clearer.
- Click to start stop playback – Clicking in the video image can control Play/Pause and other play modes.
- If you don’t want this feature turn it off here.
- Show Safe Area outline - Toggle the safe area outline in the video player.
Scrub Settings
- Scrub audio – enable or disable audio scrubbing
- Scrub loop length – Set the time, in milliseconds, for each section of scrub audio to play
- Scrub loop count – set how many times the scrub audio is played
- Default scrub volume – sets how loud the scrub audio will be.
- 0 is 0dB and the scrub audio will be the same level as the program audio.
-
note
-
- 0 is 0dB and the scrub audio will be the same level as the program audio.
You can mute and change the scrub audio volume by using the Volume Manager Widget
Audio Level Settings

- Audio Meters – controls the presence and style of audio VU meters
- These show the levels of the program audio as a graph in the video widget
- Select Stereo or eight channel. - Useful if the programme audio is multi-track.
- Audio Meters position – Enable and position the audio meter
- Select between Off, Left or Right.
Ruler Overlay.
- **On/Off - ****enable a measurement ruler over the video. **
- **Horizontal ruler size - set the marking size for the horizontal ruler. **
- **Vertical ruler size - set the marking size for the vertical ruler. **
**
**
Overlays
The Video Display Widget supports a number of optional overlays. The overlays available will depend on what other widgets are loaded as much of the overlay content (EG Timecodes) are supplied by other Widgets.
To configure an available overlay right click in the video area and select from the available Overlays:
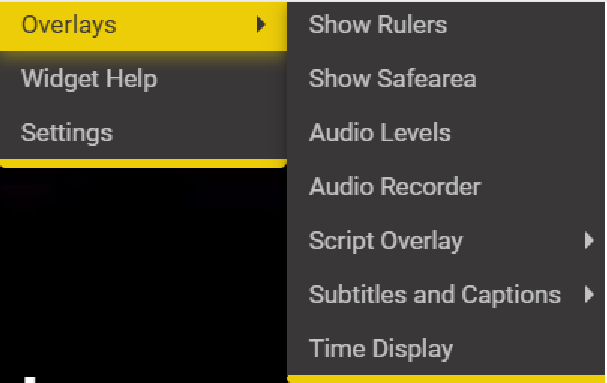
Show Rulers
- **Turn on and off the horizontal and vertical rulers overlay. **
Show Safearea
- Enable or disable the safe area outline over the video.
- If On then a feint box will show over the video indicating the safe area configured for the current subtitle file.
- Not shown if the file type is an AD or Dubbing script
- The size of the safe area is set in the Profile set for the current subtitle file.
Audio Levels:
- Set the type and position of the Audio Meters
Script Overlay – AD and Dubbing text overlay.
- See the Script Overlay widget for full details.
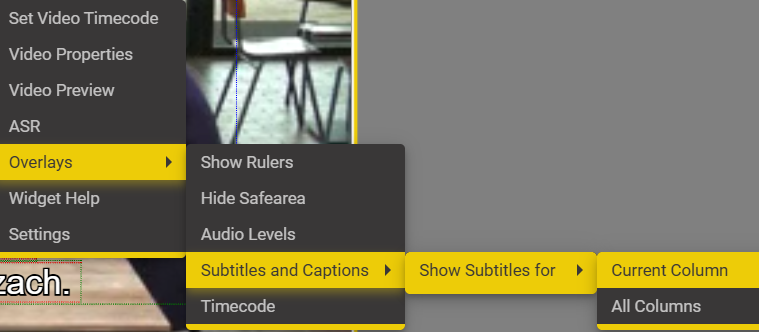
Subtitle and Captions - Select which subtitle and captions are shown over the video.
- By default the currently selected subtitle or caption file is shown over the video in the correct position and in the correct style.
- You can select to show all columns - this is used when you want to see open and closed subtitles at the same time.
- In this case select the "All Columns" option.
Time Display:
- One or more timecode overlays can be shown over or above the video
- If more than one Timecode Widget is loaded then more than one timecode overlay can be shown.
-
tip
-
- If more than one Timecode Widget is loaded then more than one timecode overlay can be shown.
This is useful if you want to see the timecode in more than one format. EG. hh:mm:ss:ff and Frame count. :::
Edit Text Over Video
You can configure Stellar to support subtitle text editing over the video.
The simplest way to do this is to load the Classic subtitling Layout from the Systems Layouts.
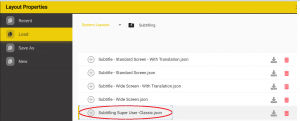
The Classic Layout emulates the look and feel of older subtitling systems.
Use one of the alternative Hotkey Maps make the Stellar controls similar to subtitling software systems you have used before
Context Menu
Right click in the video area to show the context menu
Or
Click on the three dots - Hover over the bottom right corner of the video area.
-
Set Video Timecode – Set the correct timecode for the video using the Set Video Timecode dialog.
-
Video properties – display the video properties section of the Project Properties dialog.
-
Video Preview – show the video print output for the currently selected text file
-
ASR – Open the Automatic Speech Recognition (ASR) control dialog to extract the text from the soundtrack of the current media.
-
Overlays – See the list of available overlays and control their settings.
-
Widget Help – Open a new tab with the help section for this widget
-
Settings – Open the settings dialog for the Video Widget
Mouse & Keyboard
Click in video area – Play / Pause
Shift+ Click in video area – Play reverse/Pause
Alt+ Click in video area – Play in review mode/Pause
- Review mode skips over gaps between titles
- Useful for reviewing a file with long gaps between subtitles or AD sections or reviewing a single Role in a Dubbing file.
Alt+ Shift+ Click – Loop play/Pause
- Plays the current title in a loop with a small amount of pre and post roll.
- Useful for reviewing AD and Dubbing titles
-
note
-
You can adjust the audio level during playback to set the required level.
Right Click – Show context menu
Alt+ Right click in widget area – Open widget specific Settings dialogue.
Hover over the bottom right-hand corner of the video to pop up extra controls
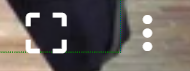
- Zoom full screen - See above
- Three Dots - Shortcut to context menu